First DIY post of the… EVER! NOLA BASH designed a Greek Island inspired table-scape for the upcoming spring issue of New Orleans Weddings Magazine. And it was SO MUCH FUN. Checkhere for a peek.
I cannot reveal much about the shoot, for obvious reasons, and because I am as eager to see the whole spread as every reader should be, but I can share with you a little décor project that I completed to complement the Greek “look.”
Ombre napkins! I hope y’all are as excited as I am about these…When we chose the Greek Islands for our theme, the very first inspiration that came to my mind was the movie Troy. It’s one of my absolute favs and triggered design ideas not just because Brad Pitt is pure shirtless H-E-A-V-E-N for the whole 163 minutes, but because I swear by all that’s holy that one of the women in the movie wears a dip-dyed dress. I can’t for the life of me remember who it was or offer you proof- but either in my mind or in reality, Diane Kruger donned a dip-dyed dress. At any rate, I made ombre napkins, and here they are:

And here's how I made 'em:
I actually used solid white bandanas from the craft store, as I could not find actual napkins with the texture I wanted. So their functionality is questionable, but they looked simply divine! On to the process. I washed and line dried the bandanas like so: (please excuse the dead garden in this and any other photographs to follow.)

An artsier shot of a drying bandana: (thanks Instagram)

In picke jars:

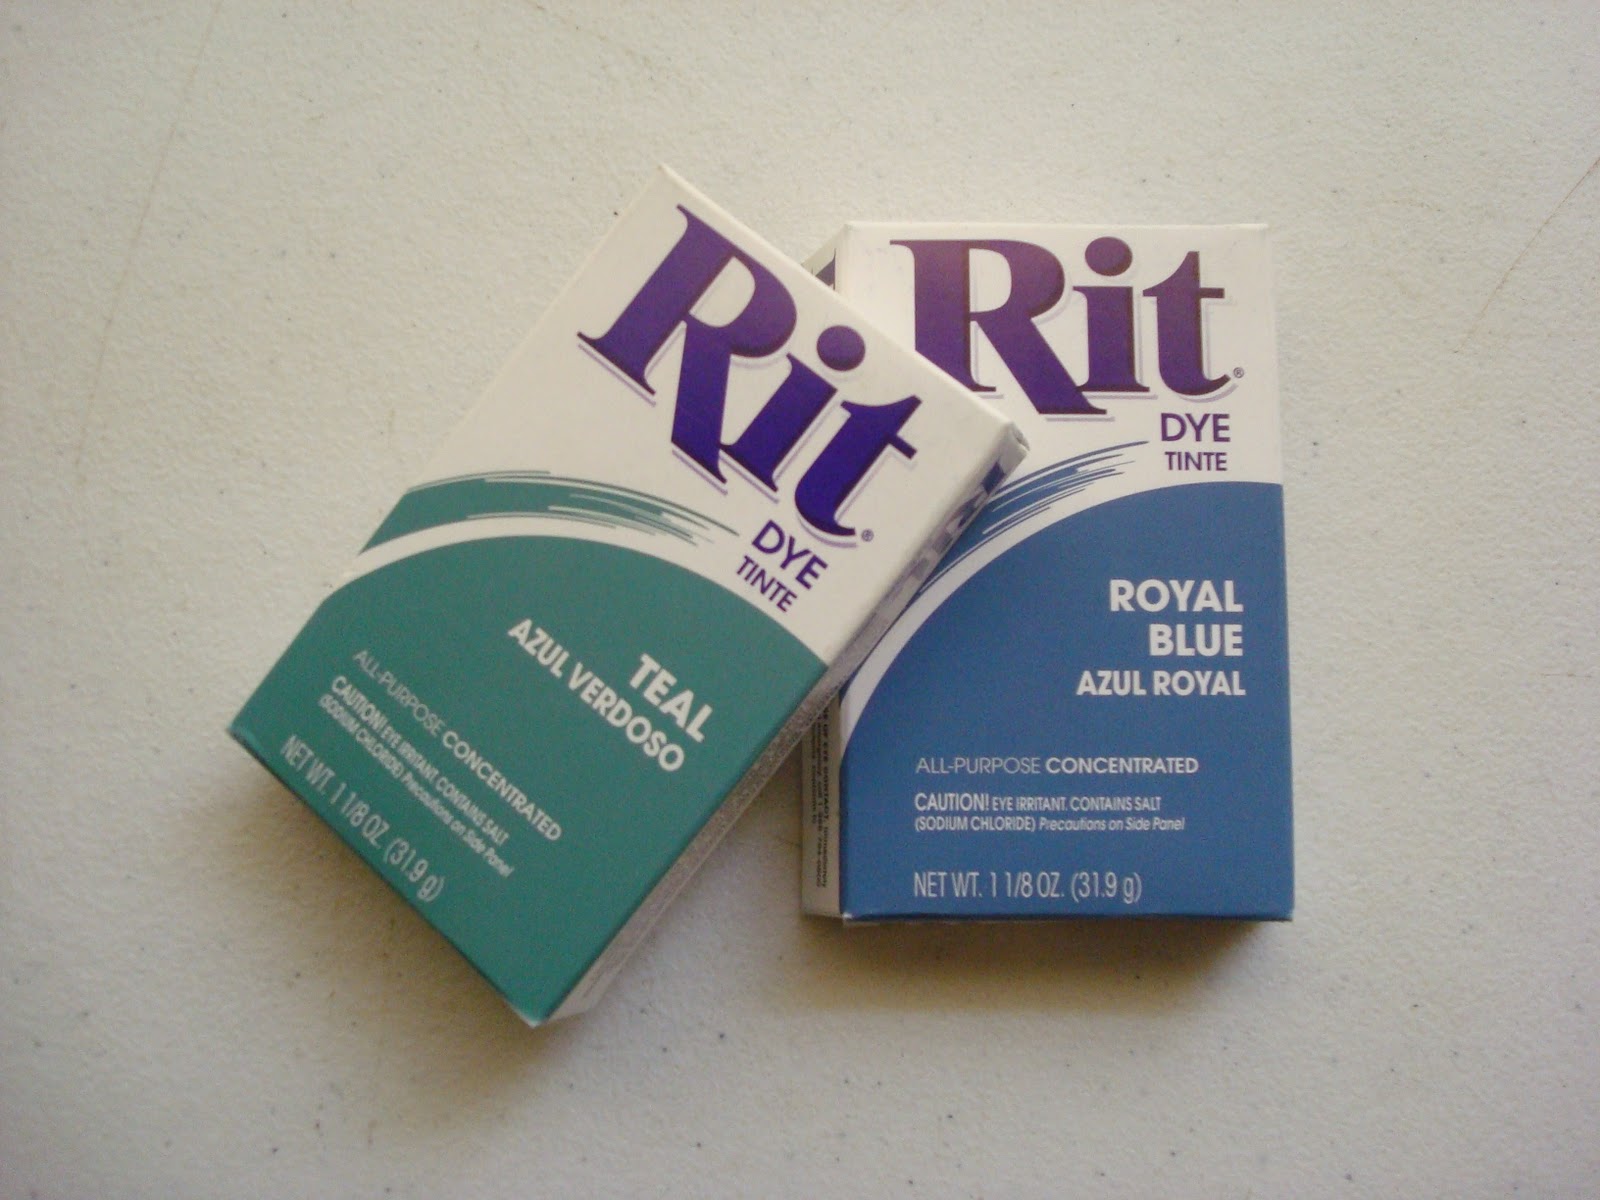
Kept adding dye until I got the colors I wanted (tested my chemistry with paper towels):

Folded the clean, dry napkins (in the manner they would be displayed on the table) and dipped them first in to the lighter teal color:

Then in to the darker blue, allowing the dye to reach just below the line of the teal:

Back to the clothesline for drying:

A close up so you can see the color variation and how the dye wicks up the fabric:

And aside from one minor chip, my freshly-Butter Cheeky Chops-painted nails suffered little damage and there was nary a blue-dyed finger in sight:

The End.
The whole process (after the initial washing and drying) took only about 20 minutes. It was super easy and the results were impressive, if I do say so myself. I can't wait to unveil the entire table-scape in due time. I apologize for there not being super detailed photos of each and every step, as are evident in most DIY blogs. However, in my defense, this is my very first DIY post and I'm sure to improve with time. I hope y'all try it out and have as much fun with it as I did!
Cheers.
Melissa
No comments:
Post a Comment